Bounty
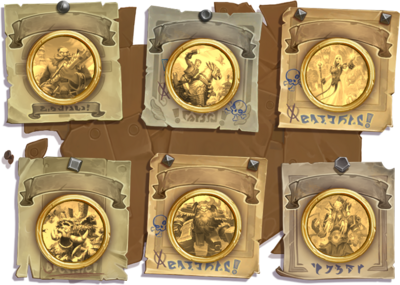
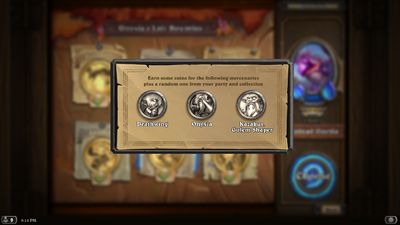
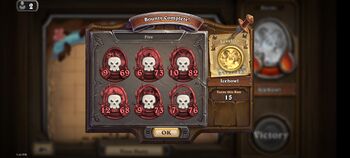
Bounty is a mapped and procedurally-generated series of encounters in Mercenaries PvE content, ending with a Bounty Boss. The player can do a bounty by visiting Travel Point, choosing a Mercenaries/Zone, a bounty with a boss coin-like image, and finally a party to go with. Defeating the bounty boss ends the bounty and rewards the players Mercenaries/Mercenary coins of their Mercenaries/Party's mercenaries and coin loots, which are coins of three guaranteed mercenaries depending on each bounty.
Functionality[edit | edit source]
During a bounty, the player can:
- Visit an encounter
- Check the coin loots at the end of the map by clicking/tapping on the chest
- Check their party, run stats at "View Party" button and hover over mercenary portraits to see the treasure they have claimed
- Retire the bounty they are running at "View Party" button, then "Retire" button
- Go back to Village while saving the bounty run's progress
Encounters[edit | edit source]
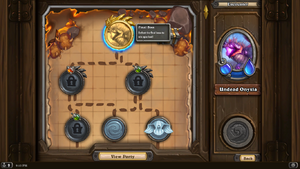
A bounty consists of 6 types of encounters (or nodes): Fight, Bounty Boss, Spirit Healer, Boon, Mystery, and Campfire.
Fight[edit | edit source]
Fight is one of the most common encounter types in any bounty. Each fight is determined randomly, but their theme can be either a party of three collectible mercenaries with random stats, levels, and abilities' tiers, or a party of uncollectible mercenaries with theme related to the respective zone. A role's gem is placed above the fight's icon to let the player know one of the roles they can expect.
At the start of each fight, the player can immediately see the enemy party. At each Command phase, each mercenary in the enemy party has their abilities already chosen, which the player can see when hovering one of them or seeing the bubble indicating the resolving orders. These are the main differences between a Travel Point game and a Fighting Pit game, where the player cannot see the enemy party until both players are confirmed the mercenaries they are going to put into combat, and cannot see the abilities the opposing player has chosen.
Due to natural progression of bounty, if any player's merc has been dead during each fight, they are stayed dead until revived by Spirit Healer.
Beating a fight gives experience to all mercs in player's party, even the dead or who is sitting in Mercenaries/Bench. Afterwards, a random mercenary in player's party will be rewarded a treasure of three-choice in the form of ability, similar to how the player chooses a treasure for their deck in Dungeon Run. The chosen treasure will be only present in the running bounty.
Fights with dragon borders are considered elite fights. An elite fight consists of 4 random collectible mercenaries, but reward more experience for player's mercenaries and even better treasures if they overcome the fight.
Bounty Boss[edit | edit source]
Bounty Boss is the last encounter of any bounty, where the player faces a pre-determined enemy party with the boss. Bosses usually have much higher stats, have special passives and mechanics.
Beating the Bounty Boss ends the bounty and rewards the player coins of their party's mercenaries and coins from a loot of three determined mercenaries according to each bounty.
Spirit Healer[edit | edit source]
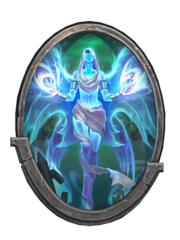
Spirit Healer is a special encounter where the player can choose to revive one of their dead mercenaries.
Boon[edit | edit source]
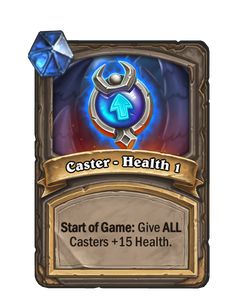
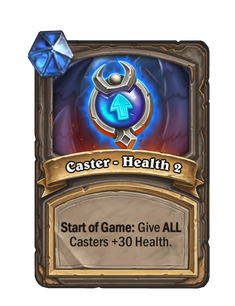
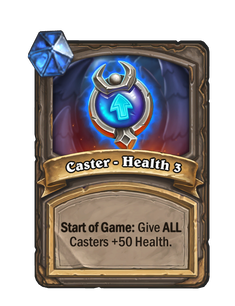
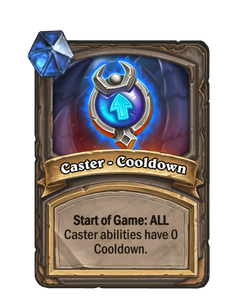
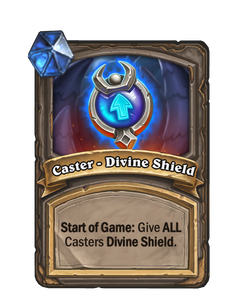
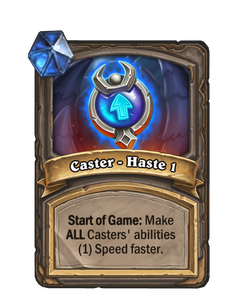
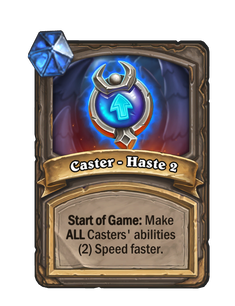
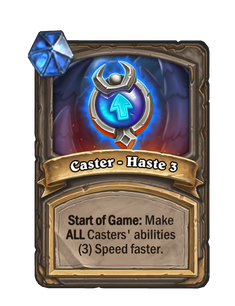
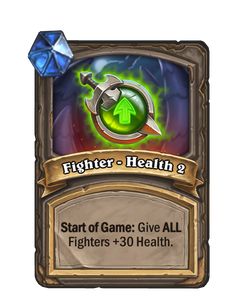
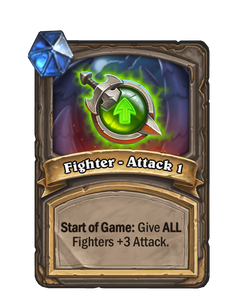
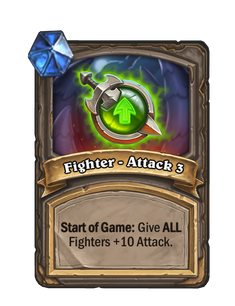
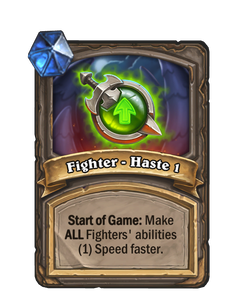
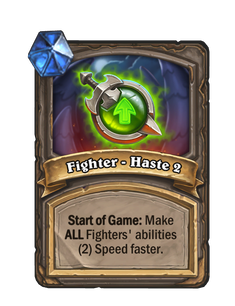
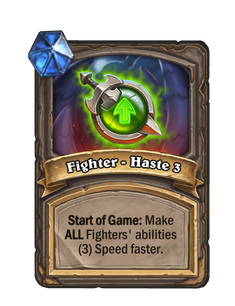
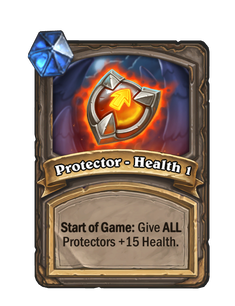
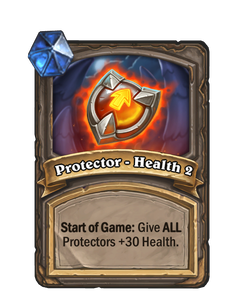
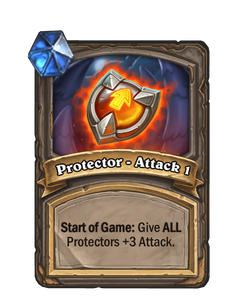
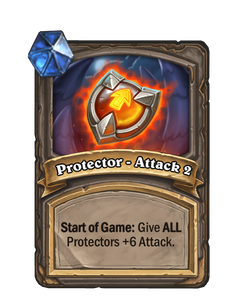
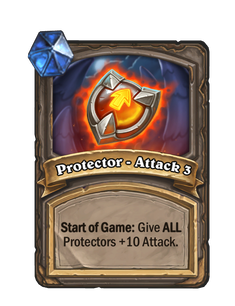
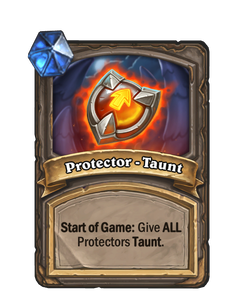
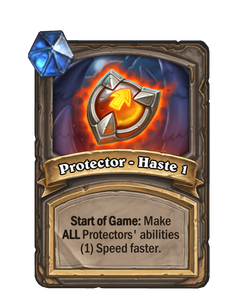
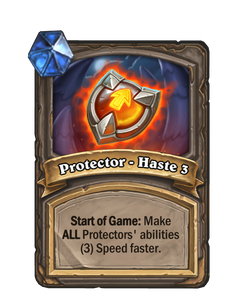
Boon is a special encounter where the player can boost all mercenaries (even enemy mercenaries) of a role which was suggested by the map icon. These boons are triggered at the Start of Game and gives enchantments to only existing mercenaries on bench, in hand, or in the battlefield.
Some boons have 3 different tiers. Tier 1 is available in level-10 or less bounties, Tier 2 is available in bounties with level from 11 to 20, and Tier 3 is available in level-21 or higher bounties.
Below is the list of all possible boons in a bounty.
Mystery[edit | edit source]
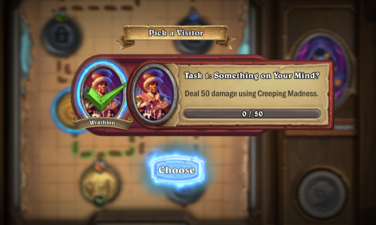
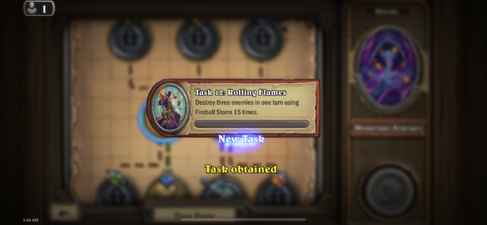
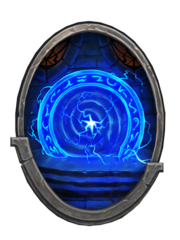
Mystery is a special encounter which either changes the rule of each fight should the player encounter them, or meet a stranger that gives them a new mercenary task.
Below is the list of all possible mysteries in a bounty.
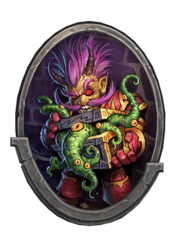

As of Patch 23.4.0.139963:
- When visited, Mysterious Stranger preferably offers 3 of the mercenaries in the player's party whose task chain has not been completed yet.
- If there are not enough mercenaries in the party to offer, Mysterious Stranger will offer mercenaries outside the party to fill in 3 offering slots.
- For example, your party has 6 mercenaries, consisting of
 Trigore the Lasher whose task is in Campfire, and
  Ragnaros whose task chain has not been completed. Mysterious Stranger will offer Ragnaros and 2 other mercenaries you owned.
- For example, your party has 6 mercenaries, consisting of
- If there are not enough mercenaries in the player's collection whose task chain has not been completed, the remaining slots will still be random mercenaries. However, confirming the choice on one of those slots will reward 15 coins of that mercenary instead.
- For example, you only have Trigore the Lasher and Ragnaros whose task chains have not been completed yet. Mysterious Stranger offers you Trigore, Ragnaros and
 Wrathion. When you confirm Wrathion, you will get 15 Wrathion Coins.
- For example, you only have Trigore the Lasher and Ragnaros whose task chains have not been completed yet. Mysterious Stranger offers you Trigore, Ragnaros and
- Mysterious Stranger has rare chance to appear since Patch 23.0.0.135540.
- The higher the highest level mercenary in the player's party is, the rarer chance Mysterious Stranger has to appear in lower-level bounties.
- If there are not enough mercenaries in the party to offer, Mysterious Stranger will offer mercenaries outside the party to fill in 3 offering slots.
- When the player picks Hot Potato!, a
 Spud M.E. 1 (
 Spud M.E. 2 in higher-level bounties) will be summoned either on the player's side or enemy side randomly at the Start of Game.
  Bonus Loot! and
  Cursed Treasure!
- These mysteries could only appear in Heroic.
- The bonus is an extra chest of coin loots (doubling the rewards after the player completes the bounty)
Campfire[edit | edit source]

- Main article: Campfire
This node is always available at the start of any bounty map and served as a checkpoint. The player can also visit it to go to Campfire scene directly without having to exit the Bounty map scene and going to Village. Since Patch 23.0.0.135540, the player does not need to press an additional button at the wooden panel; as soon as the player clicks/taps on the Campfire node, the Campfire scene will appear immediately.
List of bounties[edit | edit source]
As of 29.2.2.198711, there are a total of 86 bounties released.
| Zone | Bounty | Level | Coin loots | Equipments |
|---|---|---|---|---|
| The Barrens | Ferocious Quilboar (Heroic) | 5 | ||
| The Barrens | Air Elemental (Heroic) | 8 | ||
| The Barrens | Serena Bloodfeather (Heroic) | 10 | ||
| The Barrens | Apothecary Helbrim (Heroic) | 15 | ||
| The Barrens | Sunwalker Proudhoof (Heroic) | 15 | ||
| The Barrens | Barak Kodobane (Heroic) | 20 | ||
| The Barrens | Mad Bomber (Heroic) | 20 | ||
| The Barrens | Plaguemaw the Rotting (Heroic) | 25 | ||
| The Barrens | Neeru Fireblade (Heroic) | 25 | ||
| The Barrens | Secret Cow (Heroic) | 30 | ||
| Felwood | Raven the Hunter (Heroic) | 26 | ||
| Felwood | The Annointed Blades (Heroic) | 27 | ||
| Felwood | Fallen Guardians (Heroic) | 28 | ||
| Felwood | Xaravan (Heroic) | 29 | ||
| Felwood | Corrupted Ancient (Heroic) | 29 | ||
| Felwood | Lord Banehollow (Heroic) | 29 | ||
| Felwood | Attumen The Huntsman (Heroic) | 30 | ||
| Felwood | Moroes (Heroic) | 30 | ||
| Felwood | Shade of Aran (Heroic) | 30 | ||
| Felwood | Prince Malchezaar (Heroic) | 30 | ||
| Felwood | Echo of Medivh (Heroic) | 30 | ||
| Winterspring | Snowclaw (Heroic) | 30 | ||
| Winterspring | Yeti Hunter Ranel (Heroic) | 30 | ||
| Winterspring | Avalanchan (Heroic) | 30 | ||
| Winterspring | Ursula Windfury (Heroic) | 30 | ||
| Winterspring | Icehowl (Heroic) | 30 | ||
| Winterspring | Ahune the Frostlord (Heroic) | 30 | ||
| Blackrock Mountain | Coren Direbrew (Heroic) | 30 | ||
| Blackrock Mountain | High Justice Grimstone (Heroic) | 30 | ||
| Blackrock Mountain | Emperor Thaurissan (Heroic) | 30 | ||
| Blackrock Mountain | Garr (Heroic) | 30 | ||
| Blackrock Mountain | Baron Geddon (Heroic) | 30 | ||
| Blackrock Mountain | Majordomo Executus (Heroic) | 30 | ||
| Blackrock Mountain | Highlord Omokk (Heroic) | 30 | ||
| Blackrock Mountain | General Drakkisath (Heroic) | 30 | ||
| Blackrock Mountain | Rend Blackhand (Heroic) | 30 | ||
| Blackrock Mountain | Razorgore (Heroic) | 30 | ||
| Blackrock Mountain | Vaelastrasz (Heroic) | 30 | ||
| Blackrock Mountain | Chromaggus (Heroic) | 30 | ||
| Blackrock Mountain | Nefarian (Heroic) | 30 | ||
| Blackrock Mountain | Nightbane (Heroic) | 30 | ||
| Blackrock Mountain | The Curator (Heroic) | 30 | ||
| Blackrock Mountain | Netherspite (Heroic) | 30 | ||
| Alterac Valley | Ravak (Heroic) | 30 | ||
| Alterac Valley | Louis Philips (Heroic) | 30 | ||
| Alterac Valley | Galvangar (Heroic) | 30 | ||
| Alterac Valley | Popsicooler (Heroic) | 30 | ||
| Alterac Valley | Lokholar (Heroic) | 30 | ||
| Alterac Valley | Drek'Thar (Heroic) | 30 | ||
| Alterac Valley | Rotimer (Heroic) | 30 | ||
| Alterac Valley | Ichman (Heroic) | 30 | ||
| Alterac Valley | Balinda Stonehearth (Heroic) | 30 | ||
| Alterac Valley | Ivus (Heroic) | 30 | ||
| Alterac Valley | Vanndar (Heroic) | 30 | ||
| Alterac Valley | Kazakus (Heroic) | 30 | ||
| Onyxia's Lair | Smolderwing (Heroic) | 30 | ||
| Onyxia's Lair | Dragonbone Golem (Heroic) | 30 | ||
| Onyxia's Lair | SI:7 Smuggler (Heroic) | 30 | ||
| Onyxia's Lair | Onyxia (Heroic) | 30 | ||
| Onyxia's Lair | Undead Onyxia (Heroic) | 30 | ||
| Onyxia's Lair | Mi'da, Pure Void (Heroic) | 30 | ||
| Darkshore | Corrupted Murlocs (Heroic) | 30 | ||
| Darkshore | Siren of the Deep (Heroic) | 30 | ||
| Darkshore | Captain Shivers (Heroic) | 30 | ||
| Darkshore | Acolyte of N'Zoth (Heroic) | 30 | ||
| The Sunken City | Kresh, Lord of Turtling (Heroic) | 30 | ||
| The Sunken City | Coral Elemental (Heroic) | 30 | ||
| The Sunken City | Fish of N'Zoth (Heroic) | 30 | ||
| The Sunken City | Queen Azshara (Heroic) | 30 | ||
| The Sunken City | N'Zoth (Heroic) | 30 | ||
| The Sunken City | Taran Zhu (Heroic) | 30 | ||
| The Sunken City | Xaril the Poisoned Mind (Heroic) | 30 | ||
| The Sunken City | Empress Shek'zara (Heroic) | 30 | ||
| The Sunken City | Garrosh Hellscream (Heroic) | 30 | ||
| The Sunken City | Y'Shaarj (Heroic) | 30 | ||
| The Darkmoon Troupe | Ringmaster Whatley (Heroic) | 30 | ||
| The Darkmoon Troupe | Sayge, Seer of Darkmoon (Heroic) | 30 | ||
| The Darkmoon Troupe | Darkmoon Rabbit (Heroic) | 30 | ||
| The Darkmoon Troupe | Maestra (Heroic) | 30 | ||
| The Darkmoon Troupe | Silas Darkmoon (Heroic) | 30 | ||
| The Darkmoon Troupe | Yogg-Saron (Heroic) | 30 | ||
| The Darkmoon Troupe | C'Thun (Heroic) | 30 | ||
| The Darkmoon Troupe | Babbling Book (Heroic) | 30 | ||
| The Darkmoon Troupe | The Opera (Heroic) | 30 | ||
| The Darkmoon Troupe | Barnes (Heroic) | 30 | ||
| The Darkmoon Troupe | Chess Event (Heroic) | 30 |
Treasures[edit | edit source]
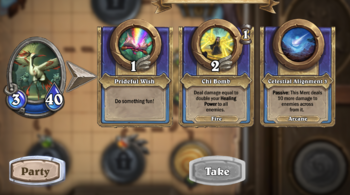
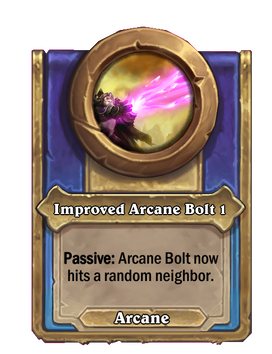
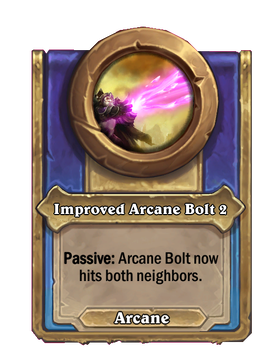
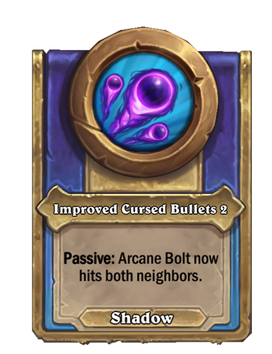
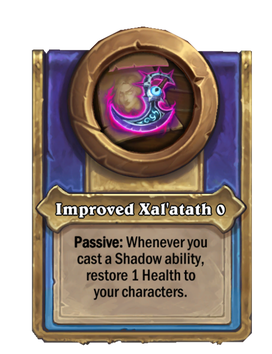
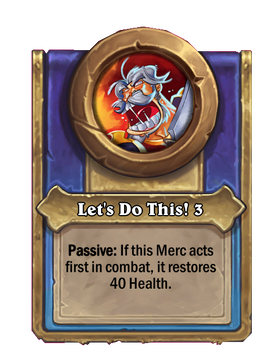
Treasure is a unique Ability that any mercenary can receive after the player claims victory from a fight. Each mercenary has their unique pool of treasures, 3 of which will be offered to the player. The chosen ability can be either used like any normal ability, or passively beneficial to the mercenary itself for the whole fight.
As soon as the player claims victory from a fight, 1 of their mercenaries who has not claimed a treasure yet will be randomly decided to claim one. If all mercenaries in their party have done, 1 of their mercenaries will be decided randomly to either keep the treasure it had claimed, or switch to 1 of the other 2 treasures offered. Since Patch 22.6.0.133923, the keeping treasure will also be upgraded 1 tier higher if it is not the highest tier.
Pool of treasures[edit | edit source]
So... where did the magic come from?
Each mercenary has 2 pool of treasures, unofficially called Normal and Elite.
- When the player claims victory from a normal fight, they will be offered 3 random treasures from Normal pool.
- When the player claims victory from an elite fight, they will be offered 3 random treasures from Elite pool.
Each treasure may have either 1, 2 or 5 tiers.
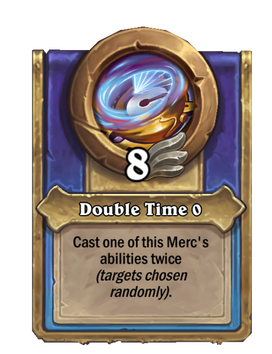
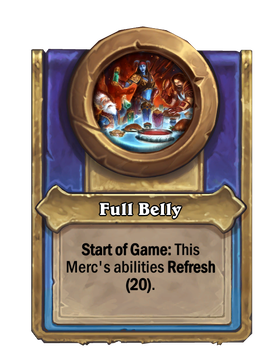
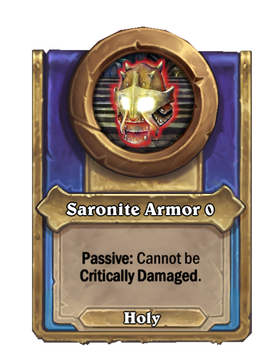
- Treasures with only 1 tier usually don't have any number included in their name. Examples include
 Double Time {0},
  Saronite Armor {0} and
  Full Belly {0}, which are the most common 3 treasures any mercenary can claim. Notably, these treasures may be both in Normal and Elite pools.
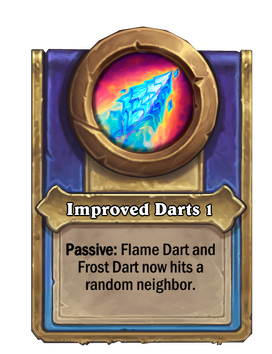
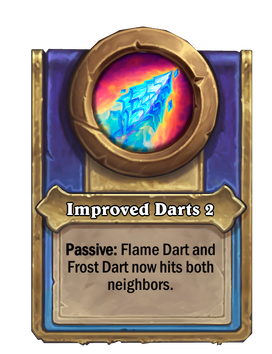
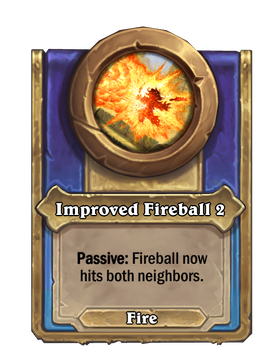
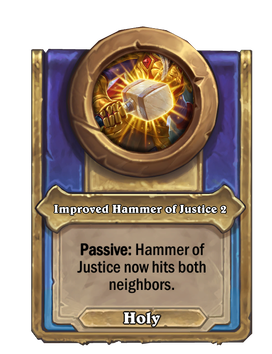
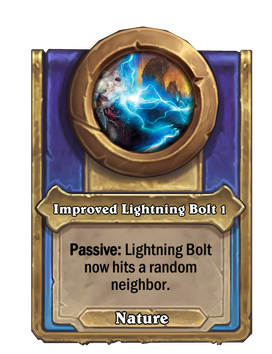
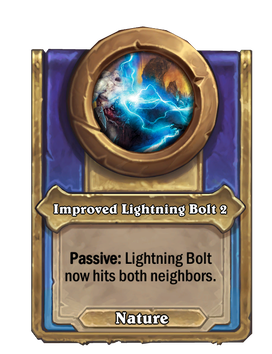
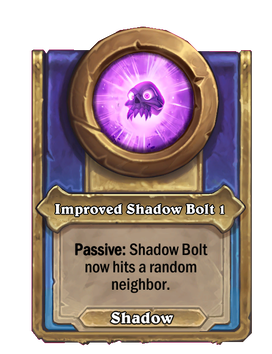
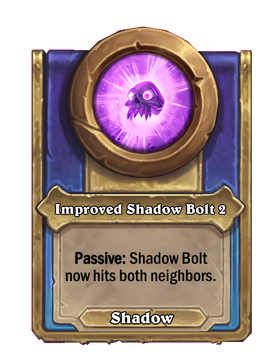
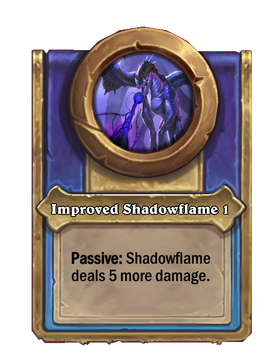
- Treasures with 2 tiers usually improve the mercenary's existing abilities. Examples include
 Improved Lightning Bolt {0},
  Improved Darts {0},
  Improved Lightning Bolt 2,
  Improved Darts 2,... and many more.
- Tier 1 of these treasures may be offered only after the player claims victory from a Normal fight.
- Tier 2 of these treasures may be offered either after the player claims victory from an Elite fight, or any fight but only if the mercenary has claimed Tier 1 of the treasure before during a bounty.
- Treasures with 5 tiers are the most common kinds of treasures the player may be offered with after any victorious fight.
- In level 1-9 bounties, these treasures will be offered at tier 1. After an elite fight, these treasures will be offered at tier 3.
- In level 10-19 bounties, these treasures will be offered at tier 2. After an elite fight, these treasures will be offered at tier 4.
- In level 20-30 bounties, these treasures will be offered at tier 3. After an elite fight, these treasures will be offered at tier 5.
Ending a bounty[edit | edit source]
There are 4 ways to end a bounty: Defeating the Bounty Boss, Losing a fight, Retiring and Wiping.
- Defeating the Bounty Boss also rewards the player coin drops. In high-level bounties, the rewards consist of 5 coin drops, with
- 3 coin drops containing 1 of the 3 coin loots from the bounty. As of Patch 22.2.2.131337, in Heroic, 1 of these 3 is guaranteed to be the legendary mercenary's coins.
- 1 coin drop for 1 one of the mercenaries in player's party
- 1 coin drop decided randomly
- The player will be shown a stats scene before confirming to return to Choosing a Bounty scene.
- Losing a fight occurs when all of the player's mercenaries are destroyed.
- If the player has passed at least an encounter in the map (2 for long maps), the player will be rewarded 3 random coin drops, called "Battle Spoils" as consolation. The more encounters the player has passed, the more coins will be rewarded.
- The player will be shown a stats scene before confirming to return to Choosing a Bounty scene.
- The player can choose to Retire willingly by clicking/tapping on View Party, then Retire.
- The player will be asked to confirm before it takes effect.
- The compensation reward is decided the same as when the player loses.
- The player can retire even if the player has not visited the first encounter at all in which case they will get no compensation reward at all.
- Wiping is most likely the rarest way to end a bounty and happens if you win a battle, but with no mercenaries alive.
- After finishing the battle, you're gonna get a notice, that your party has wiped and you'll be forced to end the bounty (same way as losing a battle).
- You get NO loot for the run.
| |||||||||||||||||||||||||||||||||||||

